Troubleshooting and Mistakes to Avoid
There are gesso tips that will improve your painting preparation. This post outlines some common mistakes that artists might make when applying gesso. Let’s help you avoid them.
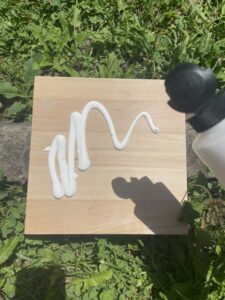
How do you apply gesso smoothly?
What is the best way to apply gesso to canvas?
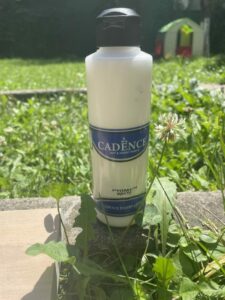
The best way to apply gesso is to clean your canvas, mix your gesso, dillute your gesso, use a large flat or filbert brush to apply it, wait fo it to dry, add many coats, and sand it (if you want).
How long should you leave gesso before painting?
How many coats of gesso before painting?
Common mistakes when applying gesso
Applying gesso can be a crucial step in preparing canvas or wood for painting. When applied correctly, gesso creates a smooth, even, and absorbent surface that improves paint adhesion and preservation. But, you need apply it the right way.
Here are some common mistakes artists make and tips for how to avoid them.
Using too much
Applying a thick layer of gesso can lead to uneven drying and cracking. It’s better to apply multiple thin layers, allowing each layer to dry completely before adding the next.
Not sanding
Next, some people forget to sand between their gesso layers. If you’re applying multiple layers of gesso, it’s important to lightly sand the surface between layers. This helps create a smoother and more even surface, reducing the risk of texture or ridges in the final painting.
Applying Too Thickly
Gesso should be applied thinly and evenly. If it’s too thick, it can lead to cracking, especially on flexible surfaces like canvas. Thin coats dry more uniformly and adhere better.
Not Waiting
Then, some artists forget to allow for proper drying time. Gesso needs time to dry completely. Rushing the process can lead to problems like cracking, poor paint adhesion, and even mold growth if the surface remains damp.
Ignoring the surface preparation
Gesso adheres better to a clean, dust-free, and slightly roughened surface. Ignoring this step might result in poor adhesion and an uneven texture.
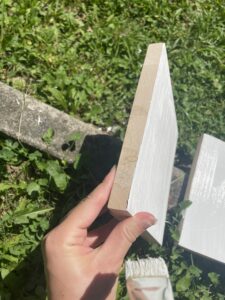
Not sealing porous surfaces
When applying gesso to porous surfaces like raw wood, it’s a good idea to seal the surface first with a layer of acrylic medium or a suitable sealer. This prevents the gesso from soaking into the material excessively.
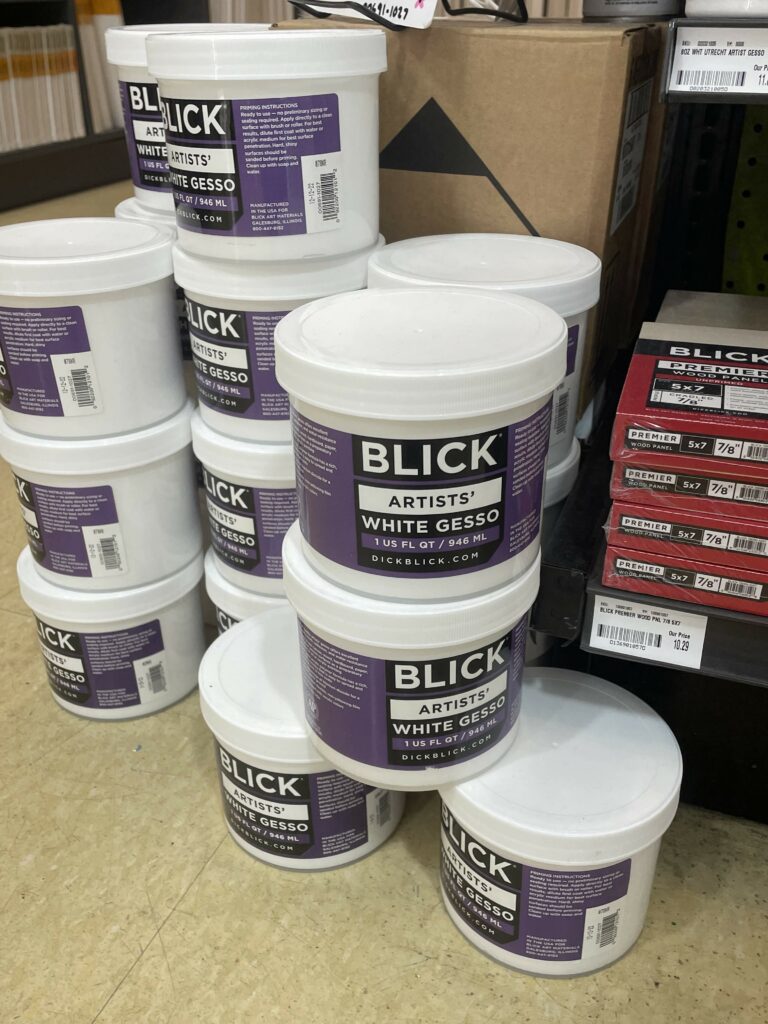
Using poor quality gesso
Not all gesso products are created equal. Using low-quality gesso might lead to issues like poor adhesion, cracking, or a chalky appearance.
Applying too thinly
Next, artists make them mistake to apply gesso too thinly. While it’s important not to apply gesso too thickly, applying it too thinly can also result in inadequate coverage and poor paint adhesion. Aim for a balanced and even application.
Ignoring ventilation
Gesso often contains chemicals and can release fumes, so it’s important to work in a well-ventilated area or wear a mask if necessary.
Using the wrong tools
Then, be careful to apply gesso with the corret tools. Using a low-quality brush or roller can result in uneven application and unwanted texture. Opt for brushes or tools that are appropriate for the surface you’re working on.
Gesso Tips to Avoid Cracking
Avoiding cracking and flaking when gessoing your canvas is essential for creating a stable and long-lasting surface for your artwork. Here are some more gesso tips to help you prevent these issues:
Thin and Even Coats
Apply gesso in thin, even coats rather than one thick layer. Thick layers are more prone to cracking as they dry unevenly.
Multiple Layers
Instead of applying a single thick layer, opt for multiple thin layers. Allow each layer to dry completely before applying the next. This helps build up a solid, flexible base.
Sanding Between Layers
Gently sand the surface with fine-grit sandpaper between each layer of gesso. Sanding smooths out any minor imperfections and creates a better bond between layers.
Flexible Gesso
Choose gesso that is labeled as “flexible” or “acrylic gesso.” These formulations are designed to expand and contract with the canvas, reducing the likelihood of cracking.
Proper Drying Time
Ensure each layer of gesso is fully dry before adding another or starting to paint. Rushing this step can lead to cracking and poor adhesion.
Avoid Overworking
While applying gesso, avoid excessive brushing or overworking the surface. This can introduce air bubbles and weaken the gesso’s structure, making it more prone to cracking.
Quality Materials
Invest in good-quality gesso and art supplies. Higher quality gesso often contains better binding agents that contribute to its durability.
Priming the Canvas
If your canvas is unprimed, apply a layer of acrylic medium or sealer before applying gesso. This prevents the canvas from absorbing moisture from the gesso and reduces the risk of cracking.
Avoid Extreme Temperatures
Gessoed canvases should be kept in a stable environment. Avoid exposing them to extreme temperature changes, as this can cause the gesso to contract and expand, leading to cracking.
Proper Stretching
If you’re working with a stretched canvas, make sure it’s properly stretched and tensioned. An improperly stretched canvas can lead to uneven stress on the gesso layer and result in cracking.
And if this interests you, check out these related posts.