How do you layer gesso for impasto effects? Basically, you layer a lot.
To creating an impasto effect with gesso, you just layer the primer in a way that adds texture and depth to your artwork.
Can I use gesso for impasto?
if you want to layer on your gesso, you certainly can. Having said that, painters don’t usually use gesso to create impasto. Usually, they use paint.
Whether painters are using oil or acrylic, they achieve impasto using oil or acrylic paints directly and layering them. So they gesso as usual, and then layer the paint on top of it to create the impasto technique.
But, there are some reasons you might want to layer your gesso for impasto effect, instead. One reason is that it is cheaper. If you are using oil, then you know the paint is pretty expensive. You might not want to waste it all in big globs. So, layer your gesso first, then paint on top of it.
Having said that, usually, the impasto effect that moves us in a painting is the result of really sensing the artist’s hand. That means, you might be adding paint in a place that emotionally charges you, or that recreates the visual affect of movement or hectic feelings. This isn’t really something you can recreate with gesso. Making an impasto effect with gesso means you are planning it ahead of time. So, take that for what it is.
How to layer gesso
Here’s a step-by-step guide on how to layer gesso for impasto effects.

Materials You Need
- Canvas or painting surface
- Gesso (traditional or acrylic-based)
- Palette knife or painting knife
- Brush (optional)
Step-by-Step Process
Prepare the Canvas
Start with a clean and dry canvas. If you’re working on a previously painted canvas, make sure it’s free of any dust, dirt, or loose paint.
Prime the Canvas
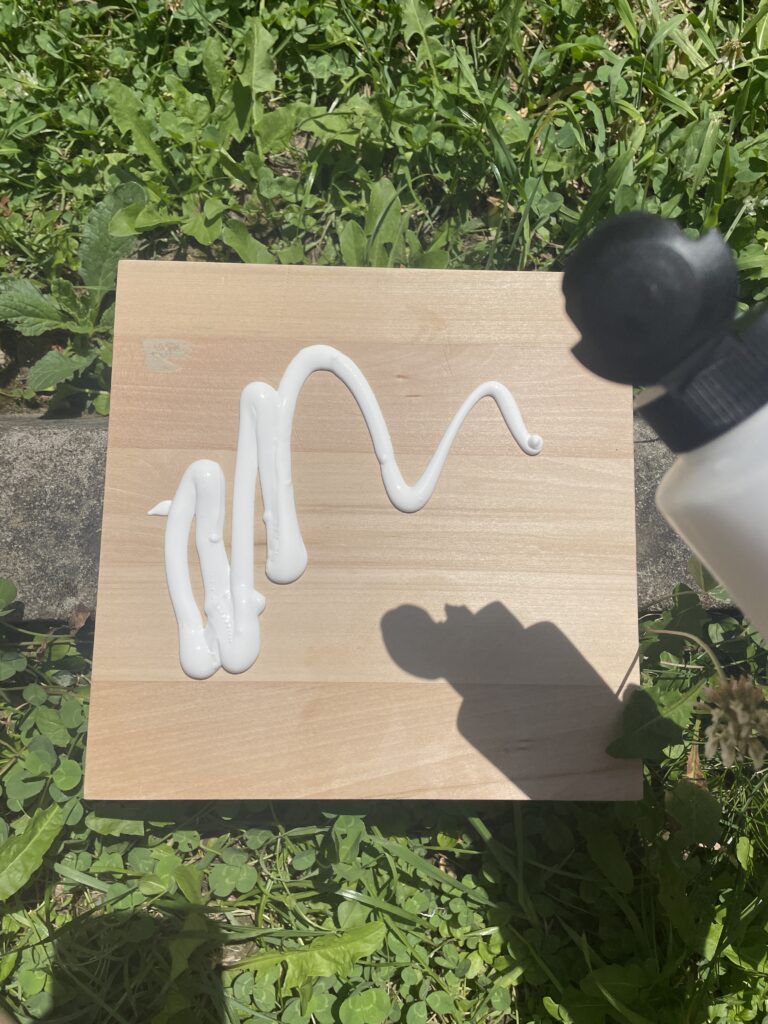
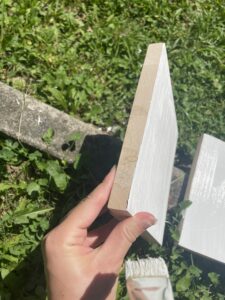
Begin by applying a thin layer of gesso to the canvas using a brush or roller. This initial layer seals the canvas and provides a foundation for subsequent layers. Make sure the gesso is evenly spread across the entire surface.
Build the Texture
To achieve impasto effects, you’ll need to create texture with thick layers of gesso. Use a palette knife or painting knife to apply additional layers of gesso onto the canvas. You can also use a brush for this step, but the palette knife will give you more control over the thickness and texture.
Play with the Thickness
Experiment with the thickness of the gesso layers to create different levels of impasto. Apply thicker gesso in areas where you want the most pronounced texture and raised effects. Leave some areas with a thinner application to add variation to the surface.
Layer in Stages
Allow each layer of gesso to dry before adding the next one. This step is essential to prevent the lower layers from becoming muddled or mixing with the fresh application. Depending on the thickness of each layer and environmental conditions, drying time can vary, so be patient!
Add Details
As you layer the gesso, you can use the palette knife or other tools to create specific patterns or textures in the surface. Experiment with different techniques, such as cross-hatching or stippling, to achieve various effects.
Finishing Touches
Once you’re satisfied with the impasto texture, let the final layer of gesso dry completely. Afterward, you’re ready to paint over the textured surface, highlighting the raised areas and creating a visually captivating piece of artwork.
Remember that the impasto effect with gesso is a customizable and playful technique. It allows you to explore and express your creativity, adding a unique touch to your paintings. So, have fun experimenting with gesso layers, and let your artistic imagination run wild!
If this interests you, here are some related posts.


